React JS has emerged as a powerful library for building user interfaces, and its capabilities extend beyond just creating static components. One approach to leverage React's full potential is by implementing a Complete Responsive (CRUD) application following the Model-View-Controller (MVC) architectural pattern. This article will guide you through creating a CRUD application using React JS and the MVC pattern.
The Model-View-Controller (MVC) pattern is an architectural concept that separates an application into three main components: Model, View, and Controller. By implementing MVC, you can create a more modular, predictable, and maintainable React application. Let's dive into the key aspects of building a CRUD application with React JS and MVC.
Setting up the Project and Environment
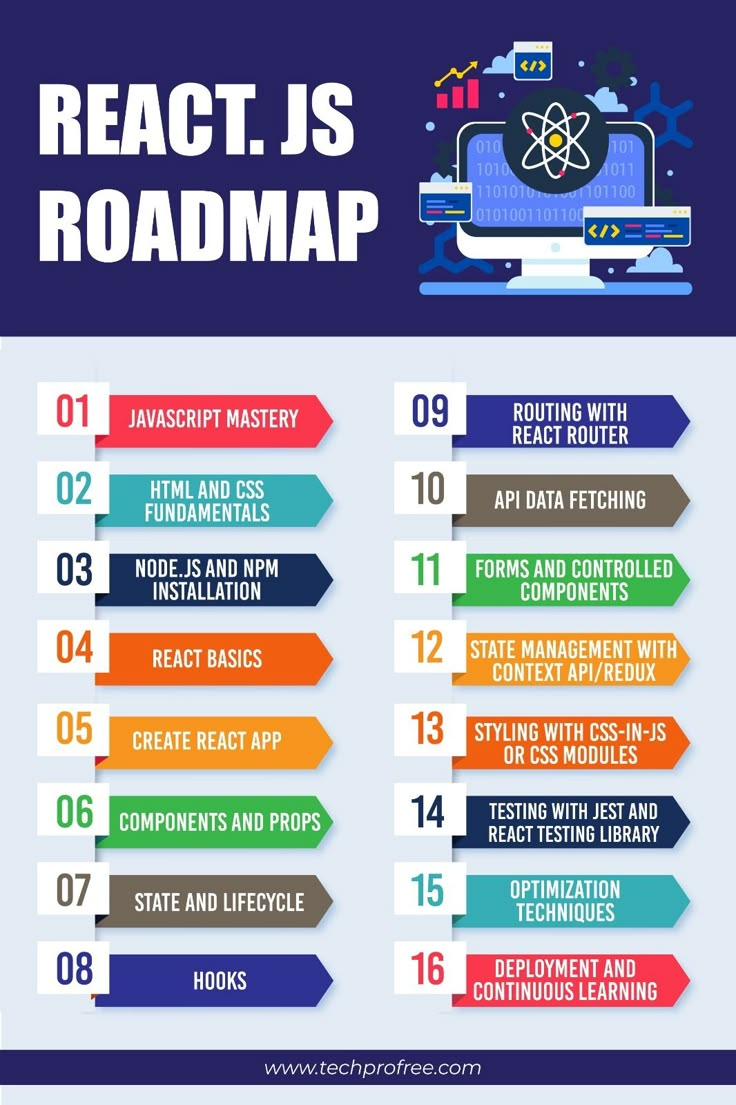
The first step in creating a CRUD application using React JS and MVC is to set up the necessary tools and environment. begins by installing Node.js and npm (Node Package Manager) on your system. You can download Node.js from its official website and follow the installation instructions.


Once Node.js and npm are installed, create a new React project using Create React App, a popular bootstrapping tool for React applications. Open your terminal or command prompt, type the following command, and press Enter:
```bash npx create-react-app crud-app ```Understanding the Folder Structure
After running the command above, you'll have a new folder named 'crud-app' containing the basic structure of a React application. The main folders and files include:


- public: Contains static files like CSS, images, and the HTML template.
- src: The root folder for your application's components, the main entry point being 'index.js'.
- package.json: Lists the project's dependencies and scripts.
Implementing the MVC Pattern
The next step is to refactor your project to follow the MVC pattern. Create the following folders inside the 'src' folder:
- models: Will store your application's data structures or models.
- views: Contains the components (views) that render the data to the user.
- controllers: Controls the application's business logic and handles user interactions.
Creating these folders allows you to maintain a clean and organized project structure, making it easier to locate and manage the different components of your application.
Creating a Simple CRUD Application
Now that the project environment is set up and the MVC structure is implemented, you can begin building your CRUD application. For this example, let's create a simple ToDo list application that allows users to add, read, update, and delete tasks.


Implementing the Model
In the 'models' folder, create a new file named 'Task.js'. Define a Task model with properties like 'id', 'title', and 'completed'. To manage the tasks, use the local storage API to store and retrieve the tasks' data. Here's an example of the Task model:
```javascript let id = 1; export default class Task { static tasks = []; constructor(title, completed = false) { this.id = id++; this.title = title; this.completed = completed; Task.tasks.push(this); this.saveToLocalStorage(); } saveToLocalStorage() { localStorage.setItem('tasks', JSON.stringify(Task.tasks)); } // Other methods for updating and deleting tasks can be added here } ```Implementing the View
In the 'views' folder, create the following components: 'TaskList.js' to display the list of tasks, 'TaskForm.js' to add new tasks, and 'TaskItem.js' to represent individual tasks. Update the 'App.js' component to import and use these new views:
```javascript import React, { Component } from 'react'; import TaskList from './views/TaskList'; import TaskForm from './views/TaskForm'; import './App.css'; class App extends Component { render() { return (ToDo List
Each view component will now be created with a respective controller to manage its behavior.


Implementing the Controller
In the 'controllers' folder, create a new file called 'TaskController.js'. Import the Task model and export the methods for adding, updating, and deleting tasks:
```javascript import Task from '../models/Task'; export default class TaskController { static getTasks() { return Task.tasks; } static addTask(title) { return new Task(title); } // Other methods for updating and deleting tasks can be added here } ```Connecting the Views and Controllers
Update the 'views' components to import and use the methods from the 'controllers' to manipulate the tasks. For example, update the 'TaskForm' component to call the 'addTask' method from the 'TaskController' when a new task is submitted:
```javascript import React, { Component } from 'react'; import TaskController from '../controllers/TaskController'; class TaskForm extends Component { state = { title: '', }; handleSubmit = (e) => { e.preventDefault(); TaskController.addTask(this.state.title); this.setState({ title: '' }); }; // Other methods for handling form inputs can be added here render() { return ( ); } } export default TaskForm; ```By connecting the views and controllers, you create a clear separation of concerns, making your application easier to maintain and update.
Following this approach, you can now build more complex features for your CRUD application, such as editing and deleting tasks, marking tasks as completed, and filtering tasks. Additionally, you can style your application using CSS or preprocessors like SASS or LESS to create visually appealing user interfaces.
The final step in creating a CRUD application using React JS and the MVC pattern is to ensure your application works as expected. Test the different features of your application, such as adding, updating, and deleting tasks, to make sure they function correctly. If you encounter any errors, debug your application and make the necessary adjustments.
In conclusion, building a CRUD application with React JS and the MVC architectural pattern allows you to create modular, maintainable, and predictable applications. By separating your application into models, views, and controllers, you can better manage the different components of your application and make it easier to collaborate with other developers. Whether you're building a simple ToDo list or a more complex web application, implementing the MVC pattern in your React projects can help you create more structured and efficient code.